A Jupyter notebook is a document that allows one to write code, notes and explanations as well as visualize the output of the code all in a single page.
Its uses include data cleaning and transformations, data visualization, machine learning, simulations among others. Its numerous uses allow for working with multiple and varied data-sets from excel and .csv files to .png and .tiff files.Working with multiple data sets can be confusing and at times, one may be stuck at the starting point; how to load the data into a notebook for use.
1. Local environment
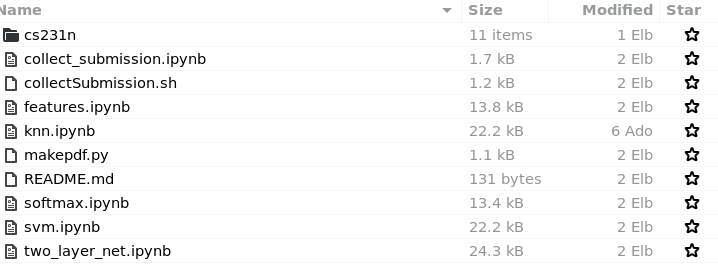
It is always wise to have all your data in a single location to ease identification and access to what you might need.
When working with a small data-set opting to work in the local environment is the way to go. This is with the assumption that one has installed the needed prerequisites to run a notebook. This includes having installed Python and Jupyter and all this can be done by installing Anaconda. VS Code also has the capability to run Jupyter notebooks but it still requires an installation of Jupyter notebook thus the first option might be easier
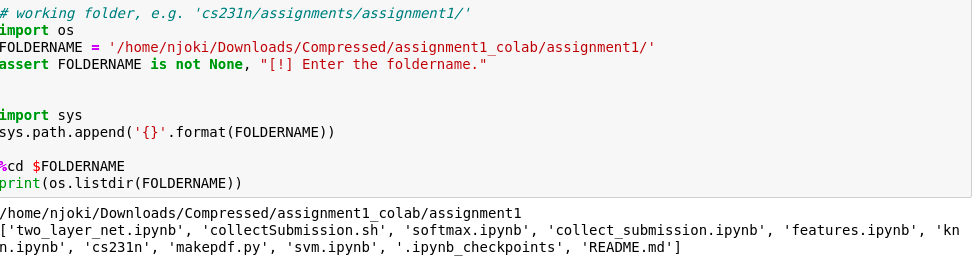
This location can then be set within a notebook for use within the Jupyter notebook as in Image 2 below:
2. Google Drive & colab

- Within a Google Drive, click on the new button then the file upload to upload a zipped file or the folder upload to upload a folder
- Uploading zipped files is faster but one has to be aware of how to unzip the files for use
Once uploaded, the content will be as in Image 3.
The drive contents can then be read into a notebook. Google has a Jupyter Notebook environment hosted into the cloud and which anyone can use. Colab(colaboratory), the environment only requires one to sign in to a google account to use it and thus create or run existing notebooks on it.
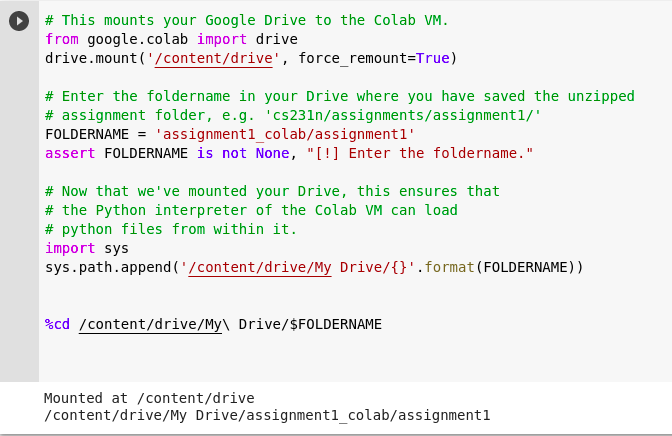
To load data that is on the drive, one mounts the drive onto the notebook

In the case of Zipped contents, one can have the command below into a cell for unzipping the file

This requires one to give the path where the contents will be extracted as well as the path of the zipped file.
The code from the screenshots
# This mounts your Google Drive to the Colab VM.
from google.colab import drive
drive.mount('/content/drive', force_remount=True)

# Enter the foldername in your Drive where you have saved the unzipped
# folder, e.g. 'cs231n/assignments/assignment1/'
FOLDERNAME = 'assignments/assignment1'
assert FOLDERNAME is not None, "[!] Enter the foldername."

# Now that we've mounted your Drive, this ensures that
# the Python interpreter of the Colab VM can load
# python files from within it.
import sys
sys.path.append('/content/drive/My Drive/{}'.format(FOLDERNAME))

%cd /content/drive/My\ Drive/$FOLDERNAME


import os
print(os.listdir('/content/drive/My Drive/{}'.format(FOLDERNAME)))
One can paste the entire code into a single cell within Jupyter or Colab. Remember to change the folder name to your specific folder
Note: Google Drive authentication will be required for the mounting to occur and to access the drive


Loading data in Jupyter notebooks