This blog is a continuation of the Google Earth Engine Explorer Series, and we focus on the added layer visibility, the date, adding multiple layers, reordering, and removing layers.
Layer Visibility
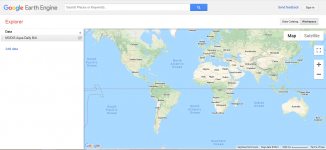
The eye-like icon on the right side of the layer that has been added is used for viewing the layer. Toggling it will either make the layer visible or invisible as shown below.

Adding layer data date
An added layer is represented with the most recent temporal resolution. In order to adjust the date settings, click on the layer settings and drag the time slider to the desired date. The map updates upon doing this. For example, the images above show the dataset for September 2021. Adjusting the date to September 2020 results to this:
One can also click on the jump to date button to go back in time, and use the calendar to adjust to the specific date as shown.
Adding multiple layers
Data can be added in three different ways:
- Through the data catalogue as explained in the previous blog
- Through the + icon at the top right of the layers list
- Through the add data button at the layer list
Reordering layers
Layers can be reordered by dragging either a layer either to the top or bottom of the other. For example, initially, we had the Modis layer, then added the Landsat layer. By dragging the Landsat layer over the Modis layer, the Landsat layer becomes visible over the Modis layer as shown below:
Removing a layer
This is done by clicking on the layer name in order to display the layer settings, then clicking on the trash icon next to the cancel button.
Note: After making any changes, remember to save in the layer settings.


Layer Visibility in the Google Earth Engine